· Lawn Mower Maintenance · 7 min read
How To Replace Adjust The Throttle Cable On A Lawnmowe

Revving Up Your Repair: How To Replace or Adjust Your Lawnmower Throttle Cable
Is your lawnmower struggling to maintain speed, or is the throttle feeling loose and unresponsive? A faulty throttle cable is often the culprit. Don’t worry, replacing or adjusting a lawnmower throttle cable is a manageable DIY project that can save you money and get you back to mowing in no time. This guide will walk you through the process, step-by-step, ensuring a smooth and successful repair. We’ll cover everything from diagnosing the issue to final adjustments, so you can confidently tackle this common lawnmower problem.
Takeaway:
- Diagnose if the cable is broken or simply needs adjustment.
- Disconnect the spark plug for safety.
- Remove the air filter housing and other obstructing parts.
- Replace the cable or adjust the tension for proper throttle control.
- Test the repair before resuming normal operation.
A malfunctioning throttle cable prevents proper engine speed control. This can lead to inconsistent cutting, engine stalling, or even damage to the lawnmower. Fortunately, fixing this issue is often straightforward.
Diagnosing the Problem: Is It a Replacement or Adjustment?
Before you start taking things apart, determine if your throttle cable needs replacing or just adjusting. Sometimes, the cable has simply become stretched or disconnected. Start by visually inspecting the cable along its entire length. Look for any obvious signs of damage, such as fraying, kinks, or breaks in the outer sheath. If you see any of these, replacement is necessary.
If the cable appears intact, try manually moving the throttle lever on the handle and observing the carburetor linkage. Does the linkage move smoothly and fully? If it feels loose or doesn’t respond immediately, the cable may need adjustment. A loose connection at either end of the cable can also cause issues. Sometimes, a simple tightening of the adjustment screws is all that’s needed. If you’re unsure, it’s always best to start with an adjustment attempt before committing to a full replacement. Keeping your lawnmower in top shape also means keeping other parts clean, like learning how to clean a Bosch washing machine to maintain all your appliances.
Safety First: Disconnecting the Spark Plug
Working on any engine requires prioritizing safety. Before you begin any repair work on your lawnmower, always disconnect the spark plug wire. This prevents accidental starting of the engine, which could cause serious injury. Locate the spark plug, usually near the engine, and firmly pull the wire off the terminal.
Tuck the wire away from the spark plug to ensure it doesn’t accidentally reconnect during the repair. It’s a small step, but it’s crucial for your safety. Remember, even a seemingly simple repair can be dangerous if proper precautions aren’t taken. Consider this a non-negotiable step in every lawnmower maintenance task. Maintaining a clean workspace is also important, similar to how to clean a 3ds screen – a clear area helps prevent accidents.
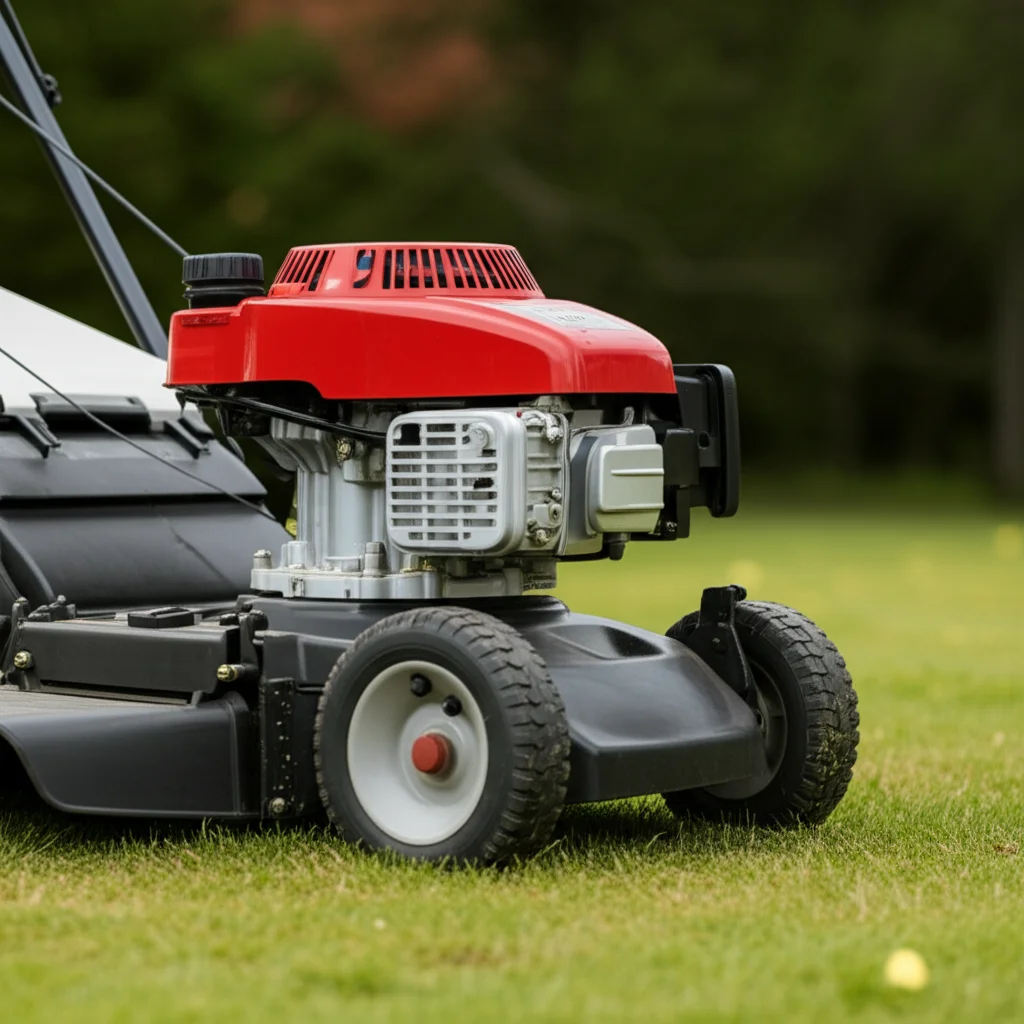
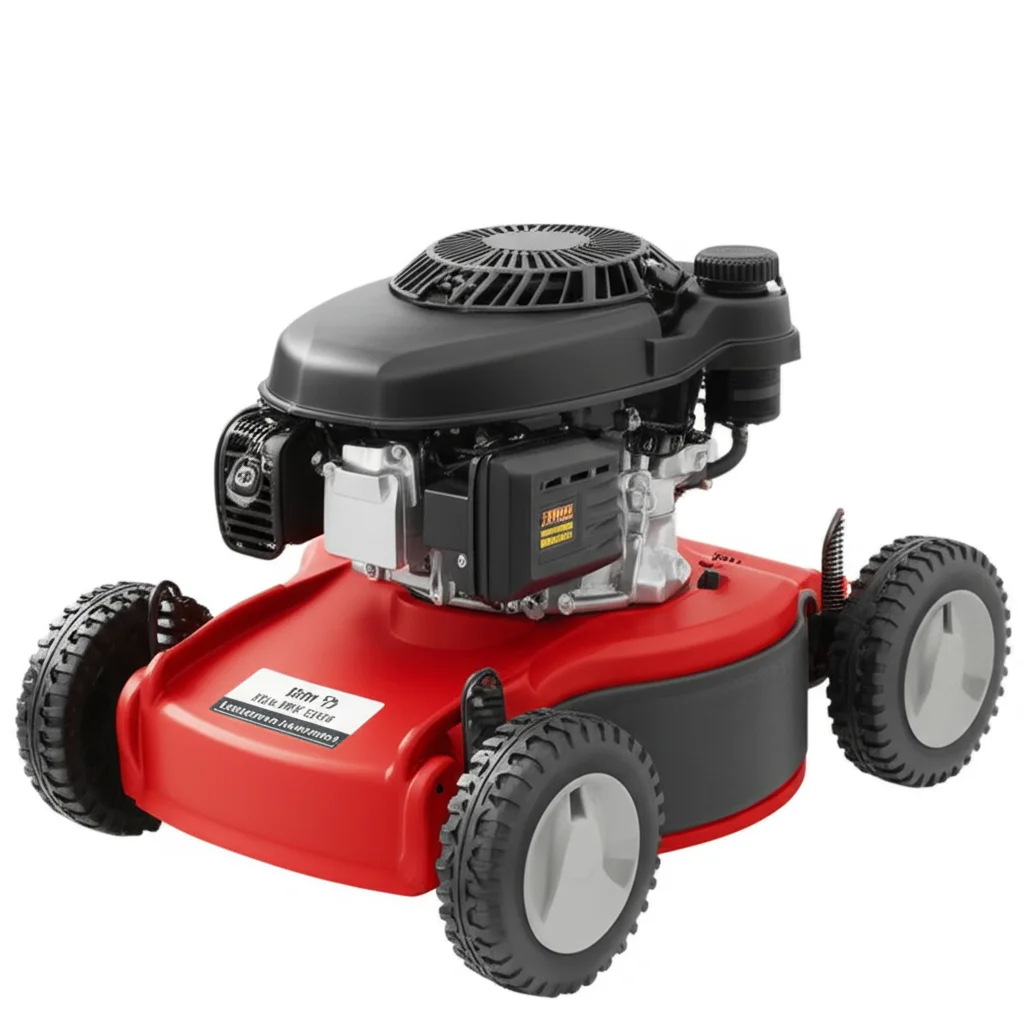
Accessing the Throttle Cable: Removal of Components
Now that the spark plug is disconnected, you need to access the throttle cable. This usually involves removing the air filter housing and potentially other components that are obstructing your access. Start by loosening and removing the screws or clips that secure the air filter housing. Carefully lift the housing off the engine, noting the position of any other connected hoses or wires.
You may also need to remove a plastic cover or shield that protects the carburetor. Take pictures as you disassemble things – this will be incredibly helpful when you reassemble everything. Keep all the removed parts organized in a safe place to avoid losing them. Once you have clear access to the throttle cable connections at both the carburetor and the throttle lever, you’re ready to proceed. A clean engine compartment, like a clean Azeus air purifier, makes the job much easier.
Replacing the Throttle Cable: A Step-by-Step Guide
If you’ve determined that the cable needs replacing, follow these steps. First, carefully disconnect the old cable from both the carburetor linkage and the throttle lever. Note how the cable is routed – you’ll need to replicate this routing with the new cable.
Next, thread the new throttle cable through the same path as the old one, ensuring it doesn’t kink or bind. Connect the cable to the carburetor linkage and the throttle lever, securing it with the appropriate clips or fasteners. Make sure the cable moves freely without any resistance. Double-check that the cable is routed correctly and isn’t interfering with any other engine components. Finally, reattach the air filter housing and any other components you removed earlier, referring to your photos if needed.
Adjusting the Throttle Cable: Fine-Tuning for Performance
If the cable is in good condition but needs adjustment, locate the adjustment screws on the carburetor or throttle lever. These screws allow you to fine-tune the cable tension. Loosen the locknut on the adjustment screw. Then, turn the adjustment screw to increase or decrease the cable tension.
Turning the screw clockwise typically increases tension, while turning it counterclockwise decreases tension. Adjust the screw until the throttle lever moves smoothly and fully opens and closes the carburetor. Once you’ve achieved the desired tension, tighten the locknut to secure the adjustment. Test the throttle operation several times to ensure it’s working correctly. Proper adjustment is key to optimal engine performance, much like how to clean floor grout without scrubbing – a little effort can make a big difference.
Final Checks and Testing: Ensuring a Successful Repair
After replacing or adjusting the throttle cable, it’s crucial to perform a final check before resuming normal operation. Reconnect the spark plug wire. Start the lawnmower and let it idle for a few minutes. Listen for any unusual noises or vibrations.
Slowly increase the throttle speed and observe the engine’s response. Does it accelerate smoothly and maintain a consistent speed? If everything seems to be working correctly, you’ve successfully completed the repair! If you encounter any issues, double-check your work and ensure all connections are secure. Regular maintenance, like how often to clean the pool filter, will help prevent future problems.
Frequently Asked Questions (FAQ)
Q: How much does it cost to replace a lawnmower throttle cable? A: The cost of a throttle cable varies depending on the lawnmower model, but typically ranges from $10 to $30. The cost of the cable is significantly less than taking your lawnmower to a repair shop.
Q: Can I use a universal throttle cable? A: While universal cables exist, it’s best to use a cable specifically designed for your lawnmower model to ensure proper fit and function.
Q: What if the throttle still doesn’t work after replacing the cable? A: If the throttle still doesn’t work, check the carburetor linkage for any obstructions or damage. The carburetor itself may need cleaning or repair.
Q: How do I know if the throttle cable is stretched? A: A stretched cable will often feel loose and require excessive adjustment. If you find yourself constantly tightening the adjustment screw, the cable is likely stretched and needs replacing.
Q: Is it difficult to route the new throttle cable? A: Routing can be a bit tricky, but taking pictures during disassembly will help you replicate the original path. Be patient and avoid forcing the cable.
Conclusion: Get Back to Mowing with Confidence
Replacing or adjusting your lawnmower throttle cable is a surprisingly straightforward repair that can save you time and money. By following the steps outlined in this guide, you can confidently diagnose the problem, perform the necessary repairs, and get your lawnmower back in top working condition. Remember to prioritize safety by disconnecting the spark plug and taking your time throughout the process. Now that you know [how to replace adjust the throttle cable on a lawnmowe], you can enjoy a perfectly manicured lawn without the hassle of a malfunctioning machine. Don’t hesitate to consult your lawnmower’s owner’s manual for specific instructions related to your model.
- lawn mower repair
- throttle cable
- lawn mower maintenance
- small engine repair