· Lawn Trend · Lawn Mower Repair · 14 min read
Cub Cadet Gtx 1054 Pto Problems

Troubleshooting Cub Cadet GTX 1054 PTO Problems: Complete Guide
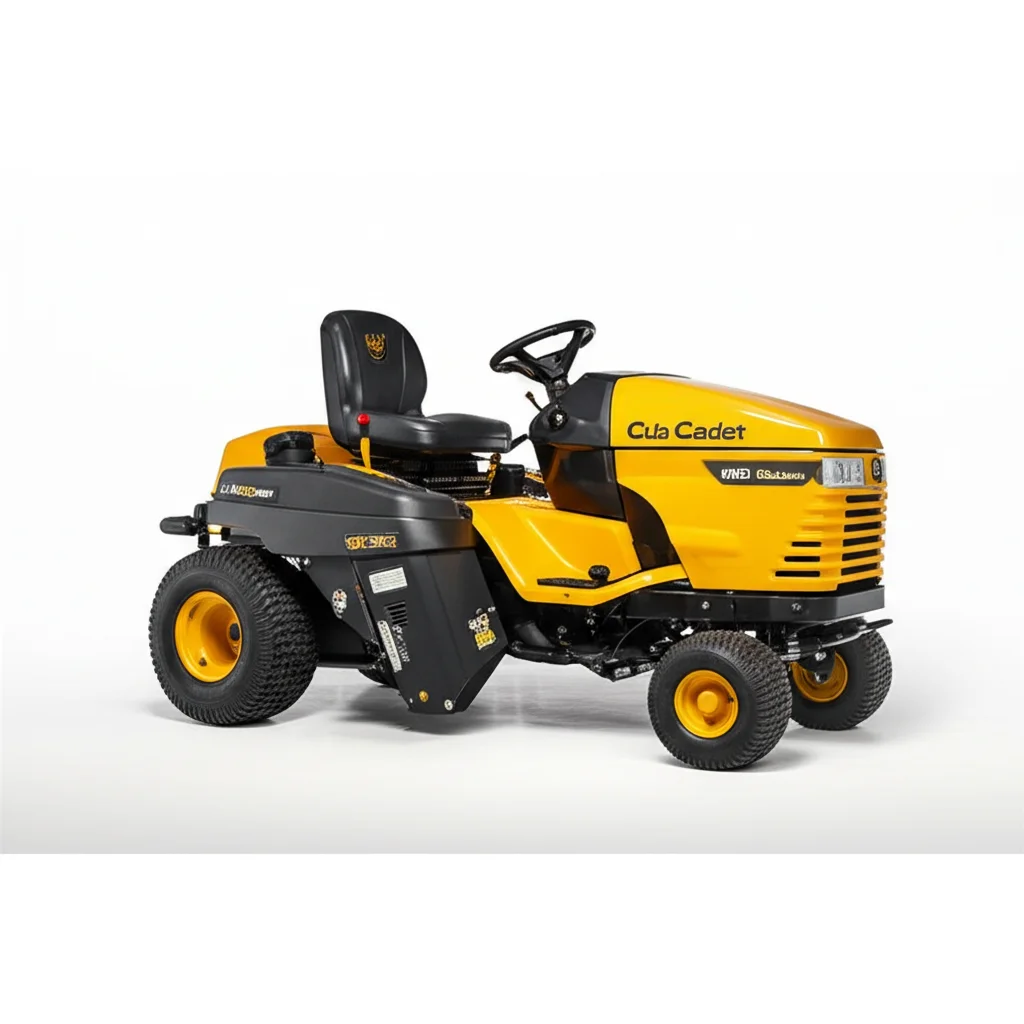
The Cub Cadet GTX 1054 is a popular garden tractor known for its reliability and performance. However, like any mechanical equipment, it can experience issues over time—particularly with the Power Take-Off (PTO) system. The PTO is crucial as it transfers power from the engine to attachments like mower decks, snow blowers, and other implements.
When your Cub Cadet GTX 1054’s PTO stops working correctly, it can halt your yard work and lead to significant frustration.
Understanding the common problems, their causes, and how to fix them can save you time, money, and stress.
This comprehensive guide breaks down everything you need to know about diagnosing and resolving Cub Cadet GTX 1054 PTO problems.
Key Takeaways
- The main causes of PTO problems include damaged switches, faulty clutches, broken wires, and electrical issues
- Regular maintenance can prevent most common PTO failures
- Many PTO issues can be diagnosed and fixed at home with basic tools
- Safety should always be prioritized when troubleshooting PTO problems
- Professional service is recommended for complex electrical issues
Quick Answer: Cub Cadet GTX 1054 PTO problems typically stem from faulty switches, damaged clutch assemblies, broken wires, or electrical system failures. Diagnosing issues involves checking connections, testing the switch, examining the clutch, and inspecting fuses and relays before implementing the appropriate repair solution.
Understanding the PTO System in Cub Cadet GTX 1054
Before diving into specific problems, it’s essential to understand how the PTO system works on your Cub Cadet GTX 1054.
The Power Take-Off system is an integral part of your garden tractor, providing mechanical power to attachments. The system consists of several key components:
- PTO Switch: The electrical switch that engages or disengages the PTO system
- PTO Clutch: The electromagnetic clutch that physically connects the engine power to the attached implements
- PTO Solenoid: The electromagnetic device that activates the clutch when engaged
- Wiring Harness: The set of wires that connects all electrical components
- Safety Switches: Sensors that prevent PTO engagement under unsafe conditions
The PTO system in the Cub Cadet GTX 1054 is designed with multiple safety features. These include switches that prevent engagement while in reverse (unless manually overridden) and sensors that shut off the PTO if the operator leaves the seat.
When functioning correctly, engaging the PTO switch sends electrical current through the wiring harness to the PTO solenoid, which activates the PTO clutch. This clutch then transfers power from the engine to whatever implement is attached.
Common Cub Cadet GTX 1054 PTO Problems and Causes
Several issues can prevent the PTO system from working correctly on your Cub Cadet GTX 1054. Here are the most common problems and their causes:
1. PTO Not Engaging
When you flip the PTO switch and nothing happens, it’s one of the most common and frustrating problems. This could be caused by:
- Faulty PTO Switch: The most common culprit, switches can wear out over time
- Blown Fuse: A blown fuse in the electrical system will prevent power from reaching the PTO clutch
- Bad Safety Switch: Seat, brake, or reverse safety switches could be preventing engagement
- Damaged Wiring: Broken or disconnected wires between components
- Defective PTO Clutch: The clutch may be worn out or damaged
Many Cub Cadet GTX 1054 owners report that after several years of use, the PTO switch often becomes the first component to fail. This is typically due to the frequent use and mechanical wear on the switch.
2. PTO Engages But Makes Unusual Noises
If your PTO engages but produces grinding, squealing, or rattling noises, this indicates mechanical issues:
- Worn Clutch Bearings: Bearings in the PTO clutch can wear out and cause noise
- Misaligned Belts: Improper belt alignment can cause squealing or grinding
- Foreign Objects: Debris caught in the PTO mechanism
- Damaged Clutch Plate: Physical damage to the clutch plate can cause unusual noises
These noises should never be ignored, as continuing to operate with these symptoms can lead to more severe damage to your Cub Cadet’s PTO system or even the engine.
3. PTO Disengages While Operating
If the PTO engages initially but then suddenly stops during operation, consider these potential causes:
- Overheating Clutch: The clutch may be overheating and automatically disengaging
- Loose Connections: Vibration can cause electrical connections to come loose
- Safety Switch Activation: A safety switch might be intermittently triggering
- Weak Battery: Insufficient power can cause the PTO to disengage under load
This problem can be particularly dangerous as it can happen unexpectedly while operating potentially hazardous equipment like mower blades.
4. Intermittent PTO Operation
If your PTO works sometimes but not others, you likely have an electrical issue:
- Corroded Connections: Corrosion on electrical terminals can cause intermittent operation
- Loose Wiring: Wires that are loose but not completely disconnected
- Failing Solenoid: A PTO solenoid that’s beginning to fail
- Temperature-Sensitive Components: Some electrical components work differently when hot or cold
Intermittent problems are often the most challenging to diagnose because they don’t consistently present symptoms during troubleshooting.
How to Diagnose PTO Switch Problems on Cub Cadet GTX 1054
The PTO switch is often the first component to check when experiencing PTO issues on your Cub Cadet GTX 1054. Here’s how to determine if your PTO switch is causing problems:
Visual Inspection
- Locate the PTO switch on your tractor’s control panel
- Examine it for any visible damage, melting, or discoloration
- Check that the switch moves freely without sticking
- Look for any signs of water damage or corrosion
Testing the Switch
To test if your Cub Cadet PTO switch is functioning correctly:
- Disconnect the battery for safety
- Remove the switch from the control panel
- Use a multimeter set to continuity mode
- With the switch in OFF position, there should be no continuity
- With the switch in ON position, there should be continuity
- If these readings don’t match, the switch is faulty and needs replacement
Common PTO Switch Symptoms
How do you know if your PTO switch is bad? Look for these telltale signs:
- No Response: Flipping the switch produces no response at all
- Intermittent Operation: The PTO works sometimes but not others
- Physical Damage: The switch feels loose, sticky, or damaged
- Burning Smell: A burning odor when engaging the PTO
- Visible Damage: Melted plastic or discoloration around the switch
Many Cub Cadet owners opt for PTO switch replacement as one of the first troubleshooting steps due to its relatively low cost and ease of replacement compared to other components.
PTO Clutch Issues and Solutions
The PTO clutch is a critical component in your Cub Cadet GTX 1054’s power transfer system. When it fails, the entire PTO system becomes inoperable. Here’s what you need to know about clutch problems:
Identifying Clutch Problems
Signs of a failing or bad PTO clutch include:
- Sluggish Engagement: Delayed response when engaging the PTO
- Slipping: The attachment starts and stops unexpectedly
- Burning Smell: An odor of burning electrical components or rubber
- Unusual Noises: Grinding, squealing, or rattling when engaged
- Excessive Heat: The clutch area becomes extremely hot during operation
How to Test the PTO Clutch
- Ensure the tractor is on level ground with the engine off
- Disconnect the battery negative terminal
- Locate the PTO clutch under the tractor
- Measure the clutch’s electrical resistance with a multimeter:
- Connect the multimeter leads to the clutch electrical connector
- A reading between 0.4 and 4.0 ohms is typically normal
- An open circuit (infinite resistance) indicates a bad clutch
- Very low resistance may indicate a short
PTO Clutch Replacement
If your clutch needs replacement, here’s a general procedure:
- Park on level ground and remove the ignition key
- Disconnect the battery’s negative terminal
- Remove the mower deck if attached
- Locate the PTO clutch (typically mounted to the engine crankshaft)
- Disconnect the electrical connector
- Remove the clutch mounting bolt (often requires special tools)
- Install the new clutch in reverse order
- Test operation carefully before full use
Cub Cadet PTO clutch replacement can be challenging for some home mechanics and may require special tools for removing the clutch bolt. If you’re not comfortable with the procedure, professional service might be the better option.
Electrical and Wiring Problems Affecting PTO Operation
Many PTO problems on the Cub Cadet GTX 1054 stem from electrical issues within the system. Here’s how to identify and address these problems:
Fuse and Relay Inspection
- Locate the fuse box on your Cub Cadet (usually near the battery)
- Check for blown fuses related to the PTO circuit
- Also inspect the PTO relay:
- Relays can often be identified by the clicking sound they make when activated
- No clicking sound when engaging the PTO could indicate a bad relay
Finding the PTO Solenoid and Relay Location
The Cub Cadet PTO solenoid location varies slightly by model year, but it’s typically found:
- Near the PTO clutch itself
- Under the tractor body, accessible from underneath
- Connected directly to the wiring harness leading to the clutch
Similarly, the PTO relay location is usually:
- Inside the main fuse/relay box
- Near the battery compartment
- Sometimes under the dashboard panel
Wiring Harness Inspection
Carefully inspect the entire wiring harness related to the PTO system:
- Look for damaged insulation, cuts, or exposed wires
- Check all connection points for corrosion or loose terminals
- Ensure connectors are fully seated and locked
- Pay special attention to areas where wires might rub against moving parts
Electrical problems are among the most challenging to diagnose because they can be intermittent and often require tracing wiring through hard-to-reach areas of the tractor.
Safety Switch Troubleshooting and Bypass
Safety switches are designed to prevent accidents but can sometimes malfunction and prevent proper PTO operation.
Common Safety Switch Locations
On the Cub Cadet GTX 1054, check these safety switch locations:
- Seat Safety Switch: Under the seat, prevents PTO operation when unoccupied
- Brake Safety Switch: Near the brake pedal, prevents PTO engagement unless brake is set
- Reverse Safety Switch: In the transmission area, disables PTO when in reverse
- Clutch Safety Switch: Near the clutch pedal on manual transmission models
Testing Safety Switches
To test if a safety switch is malfunctioning:
- Disconnect the battery for safety
- Locate the switch you want to test
- Disconnect its electrical connector
- Use a multimeter to test for continuity when the switch is activated and deactivated
- Replace any switch that doesn’t show the correct readings
PTO Switch Bypass Considerations
Some owners consider a Cub Cadet PTO switch bypass when troubleshooting or dealing with problematic safety switches. However, this comes with important warnings:
CAUTION: Bypassing safety switches can create dangerous operating conditions and should only be done temporarily for testing. Never permanently bypass safety features, as this could lead to serious injury or death.
If you need to temporarily bypass a switch for diagnostic purposes:
- Use insulated jumper wires
- Ensure the tractor is in a safe location with no bystanders
- Restore all safety features immediately after testing
- Never operate the tractor in normal conditions with bypassed safety features
DIY Fixes for Common PTO Problems
Many PTO issues can be resolved without professional help. Here are some DIY solutions:
Cleaning Electrical Connections
Dirty or corroded connections often cause PTO problems:
- Disconnect the battery
- Locate all PTO-related electrical connections
- Clean terminals with a wire brush or electrical contact cleaner
- Apply dielectric grease to prevent future corrosion
- Reconnect all terminals firmly
Adjusting the PTO Clutch Air Gap
An improper air gap in the PTO clutch can cause engagement problems:
- Locate the clutch adjustment points (usually three nuts around the perimeter)
- Measure the current air gap with a feeler gauge
- Adjust all points equally to achieve the specification (typically 0.012-0.015 inches)
- Tighten all adjustment points securely
Replacing the PTO Switch
When the switch fails, replacement is straightforward:
- Disconnect the battery
- Remove the dash panel to access the switch connections
- Take a photo of the wiring for reference
- Disconnect the wires from the old switch
- Remove the switch from the panel
- Install the new switch and reconnect the wires
- Test operation before reassembling the panel
These DIY repairs can often resolve PTO issues without the expense of professional service, but always prioritize safety and consult your Cub Cadet GTX 1054 service manual for specific procedures.
Preventative Maintenance to Avoid PTO Problems
An ounce of prevention is worth a pound of cure—especially when it comes to PTO systems. Here’s how to maintain your Cub Cadet GTX 1054’s PTO to prevent future problems:
Regular Inspection Schedule
Implement this inspection schedule:
Before Each Use:
- Check for loose connections
- Listen for unusual noises during PTO engagement
- Ensure all safety switches are functioning
Monthly:
- Inspect belts for wear and proper tension
- Clean debris from around the PTO clutch
- Check all electrical connections for corrosion
Seasonally:
- Perform a complete inspection of the PTO system
- Lubricate all necessary points
- Test all safety systems thoroughly
Proper Engagement Techniques
How you use the PTO affects its longevity:
- Always engage the PTO at low engine RPM
- Allow the PTO to reach full speed before putting it under load
- Disengage when not actively using attachments
- Avoid engaging when the attachment is in tall grass or heavy snow
Storage Considerations
When storing your Cub Cadet GTX 1054:
- Clean all debris from the PTO system
- Disengage the PTO before storage
- If storing long-term, consider applying light oil to prevent rust
- Store in a dry location to prevent electrical component corrosion
Proper maintenance can significantly extend the life of your PTO system and prevent costly repairs down the line.
When to Seek Professional Repair Services
While many PTO problems can be addressed by DIY enthusiasts, some situations warrant professional help:
Complex Electrical Issues
Consider professional service when:
- Multiple electrical components are failing
- You’ve replaced parts without resolving the issue
- Intermittent problems defy diagnosis
- Extensive wiring damage is present
Specialized Repairs
Some repairs require specialized tools or expertise:
- Internal clutch repairs
- Computer/module reprogramming
- Extensive transmission work related to PTO systems
- Safety system integration
Finding Qualified Service
For best results:
- Seek authorized Cub Cadet service centers when possible
- Check online reviews for specialized lawn equipment repair shops
- Ask for recommendations from other Cub Cadet owners
- Request a diagnosis and estimate before authorizing extensive work
Professional technicians have specialized diagnostic equipment and access to technical resources not available to most homeowners, making them worth the investment for complex issues.
Frequently Asked Questions
How do you know if your PTO switch is bad?
A bad PTO switch typically shows several symptoms: no response when engaged, intermittent operation, physical damage or looseness in the switch itself, a burning smell when activated, or visible melting/discoloration of the switch housing. Testing with a multimeter can confirm if the switch is not creating proper continuity when engaged.
Why is my PTO not engaging on my Cub Cadet?
Your Cub Cadet’s PTO might not engage due to several reasons: a faulty PTO switch, blown fuse, defective safety switch (seat, brake, or reverse), damaged wiring connections, a bad PTO clutch, or insufficient battery voltage. Check these components in order, starting with the simplest (fuses and connections) before moving to more complex parts.
How do I know if my PTO is bad?
A bad PTO clutch typically shows these signs: failure to engage when activated, unusual noises (grinding, clicking, or squealing), slipping under load causing attachments to stop and start, burning smells during operation, or excessive heat around the clutch area. You can test the clutch with a multimeter to check for proper electrical resistance, which should typically be between 0.4-4.0 ohms.
What causes a PTO to stop working?
Common causes of PTO failure include: electrical issues (blown fuses, faulty switches, or damaged wiring), mechanical problems (worn clutch, damaged bearings, or misaligned components), safety switch activation (seat, brake, or transmission switches), insufficient battery power, or control module failures. Regular maintenance can prevent many of these issues from developing.
Can I bypass the PTO safety switch on my Cub Cadet GTX 1054?
While it is technically possible to bypass safety switches for diagnostic purposes, it is strongly discouraged for regular operation. Safety switches are critical for preventing accidents and injuries. Temporary bypassing should only be done for testing with extreme caution, and all safety systems should be properly restored before normal operation. Operating equipment with bypassed safety features can result in serious injury or death.
How often should I replace the PTO clutch on a Cub Cadet GTX 1054?
There is no set replacement interval for PTO clutches as their lifespan depends on usage patterns and conditions. Most clutches last 500-1000 operating hours under normal use. Replace the clutch when you notice symptoms like slipping, unusual noises, or failure to engage, rather than on a fixed schedule. Proper engagement techniques (engaging at low RPM, avoiding heavy loads during engagement) can significantly extend clutch life.
Where is the PTO fuse located on a Cub Cadet GTX 1054?
The PTO fuse on the Cub Cadet GTX 1054 is typically located in the main fuse box, which is usually near the battery compartment. It’s generally a 20 or 30 amp fuse, depending on the specific model year. Always consult your owner’s manual for the exact location and amperage rating before replacement. Using the wrong amperage fuse can cause electrical damage or create fire hazards.
Final Words
The Cub Cadet GTX 1054 is a reliable garden tractor, but PTO problems can arise with regular use and age. Understanding the common issues, their causes, and how to address them empowers you to maintain your equipment properly and handle many repairs yourself.
Remember that regular maintenance is the best defense against PTO failures. By inspecting connections, testing switches, and properly engaging the PTO system, you can extend its life and avoid costly repairs.
For complex issues beyond your comfort level, don’t hesitate to seek professional assistance. The cost of professional service is often worth it compared to the potential damage from incorrect repairs.
By following the troubleshooting steps and maintenance advice in this guide, you’ll be well-equipped to keep your Cub Cadet GTX 1054’s PTO system operating reliably for years to come.
- Cub Cadet GTX 1054
- PTO Problems
- Lawn Mower Repair